
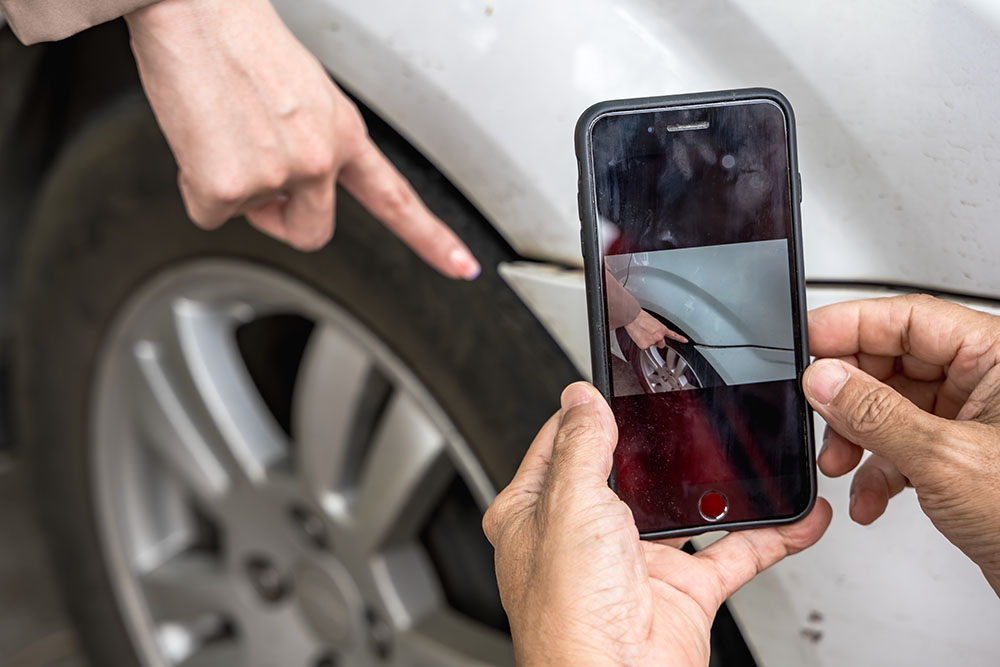
Photographing a dent can be difficult. Damage that looks obvious in person may nearly disappear on your phone screen, while reflections can make a shallow ding appear deeper than it is.
For drivers requesting a mobile dent repair estimate, a useful photo set shows more than the dent itself. It helps the technician identify the affected panel, understand the surrounding area, and decide what needs closer inspection. Photos support an initial assessment, but they cannot confirm every repair detail.
Start With a View of the Entire Panel
Before moving close to the damage, take a picture showing the whole door, fender, or other affected panel. Include nearby features such as the door handle, wheel opening, or panel seam.
This wider view gives the technician context. A close-up alone may show a depression without revealing whether it sits near an edge, a body line, or another feature that influences the paintless dent repair process.
If several panels are damaged, photograph each one separately. Avoid sending only a distant picture of the entire vehicle, since smaller dents may be impossible to identify.
Photograph the Dent from Several Angles
A straight-on photograph is helpful, but it rarely tells the whole story. Move slightly to either side and capture the damage at an angle.
Reflections often reveal changes in the panel’s contour more clearly than a direct view. Keep your phone steady and check each image before sending it.
Include These Three Views
- A wider photo: Show the damaged panel and recognizable surrounding features.
- A medium-distance photo: Make the dent’s position within the panel easy to see.
- An angled close-up: Capture the depression, surrounding reflections, and any visible paint damage.
For multiple dents, include a wider image showing their relationship and individual close-ups. This helps distinguish separate dings from one larger area of damage.
Choose Lighting That Shows the Damage Clearly
Bright glare can wash out details, while dim lighting can hide the dent altogether. Try photographing the vehicle outdoors in open shade or in a well-lit area with visible reflections.
If the dent disappears from the image, change your position before changing your phone settings. A small adjustment may make the distortion easier to see.
Keep the Images Natural
Send original, full-resolution photos when possible. Avoid beauty filters, heavy sharpening, or edits that change contrast dramatically. These adjustments can obscure scratches or exaggerate reflections.
Gently remove surface dirt if needed, but do not polish away marks or attempt a repair before documenting the damage. Understanding the difference between a surface mark and a dent is part of a professional dent repair assessment.
Include Vehicle Details and Relevant History
Along with the pictures, provide the vehicle’s year, make, and model, your location, and which panel is damaged. Mention how the damage occurred if you know.
Also disclose any previous repainting or bodywork in that area. Photos may not reveal older repairs, yet that history can influence the techniques a technician considers.
For mobile dent repair in Port St. Lucie, location information also helps with appointment planning. Ask the technician how to submit your images rather than assuming a particular upload or messaging option is available.
Understand What Photos Cannot Confirm
Photos cannot reliably show access behind a panel, hidden reinforcements, or every detail of the paint and metal condition. An initial estimate may need adjustment after an in-person inspection.
Clear pictures make the conversation more productive, but they do not guarantee that a dent qualifies for PDR or establishes a final price.
Request an Assessment From Un-Dent Inc.
Need help with a dent in Port St. Lucie, Stuart, Martin County, or St. Lucie County? Un-Dent Inc. provides mobile paintless dent repair for qualifying damage. Call Jay Bunk at 772-979-0468 to discuss your vehicle and ask how to submit photos for an initial review. To learn more about Un-Dent Inc. Visit their website https://undentinc.com.